 My
Legos playfield
My
Legos playfield My
Legos playfield
My
Legos playfield
(Click on the image to enlarge.)
(Click on the image to enlarge.)
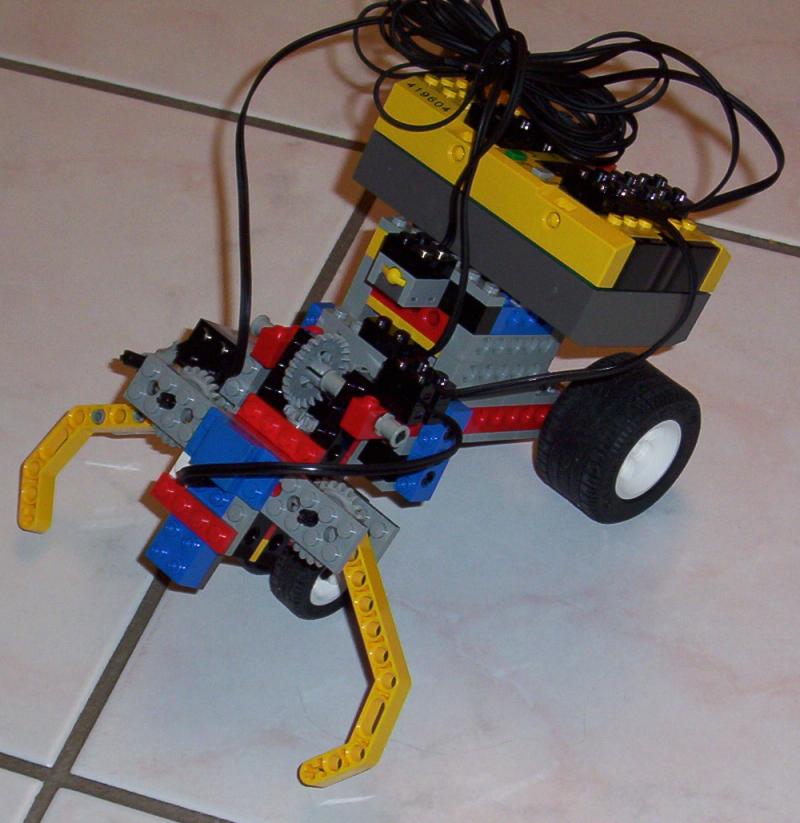
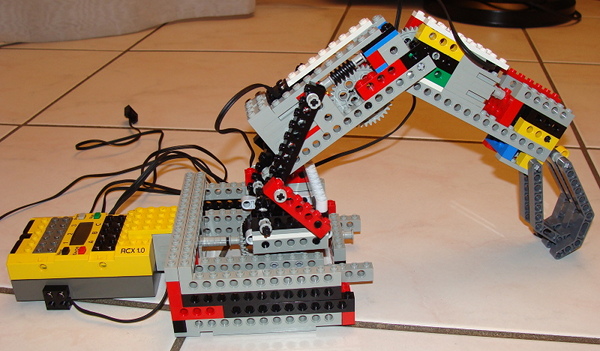
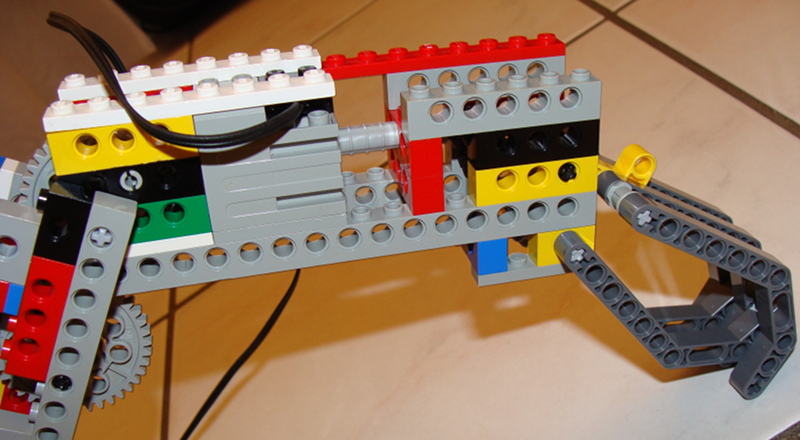
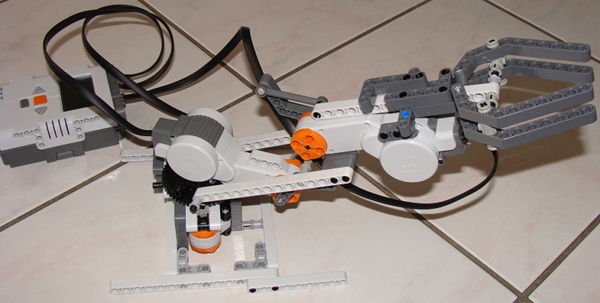
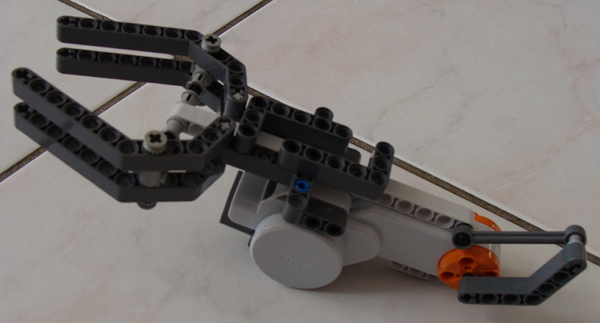
This robot only aims to grab what you put between its hand and take this to throw it forward, at a given distance, then go back to its initial position waiting for something else to throw. Unfortunately, I never made any MLCAD model for this robot.
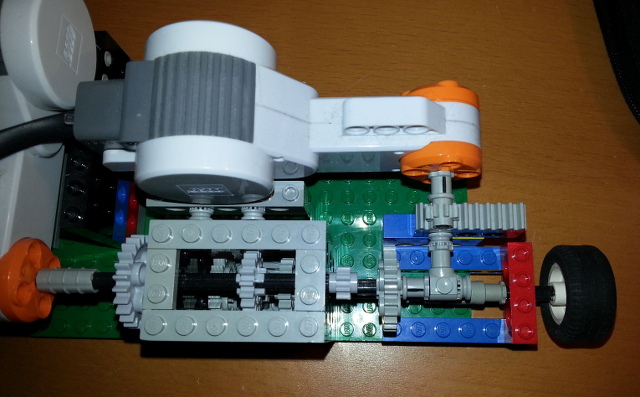
Because I only had 2 motors, this robot's movement is very simple: it does not turn. It goes forward for a certain amount of time, then goes backward for this same amount of time. Hence, it comes back to its initial location.
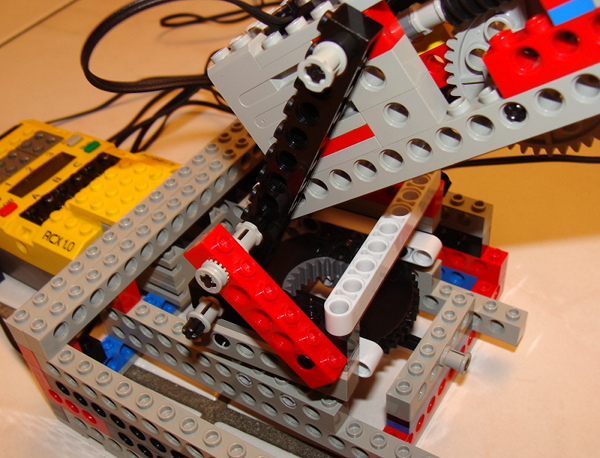
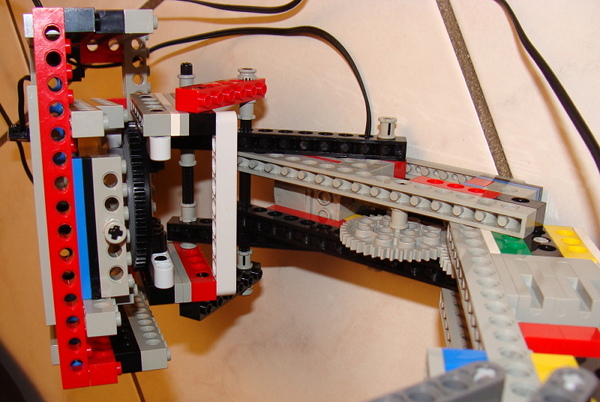
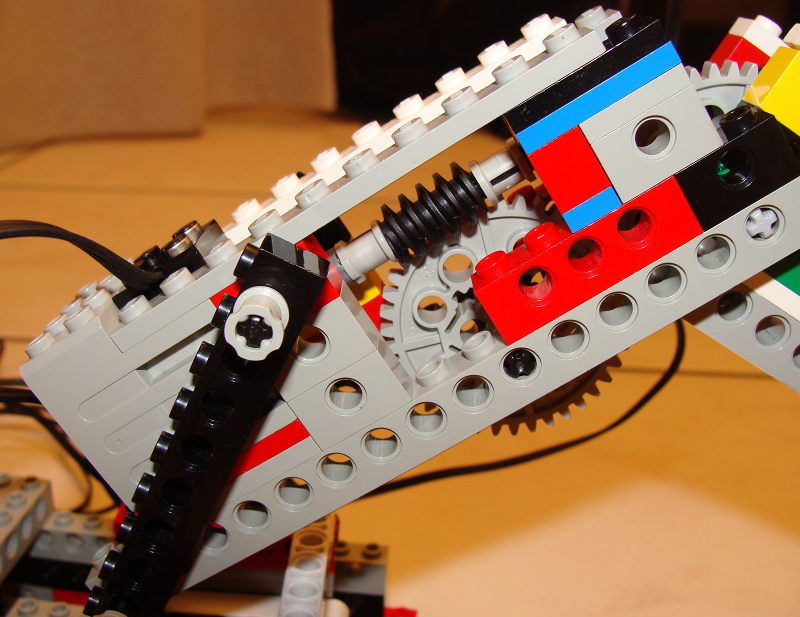
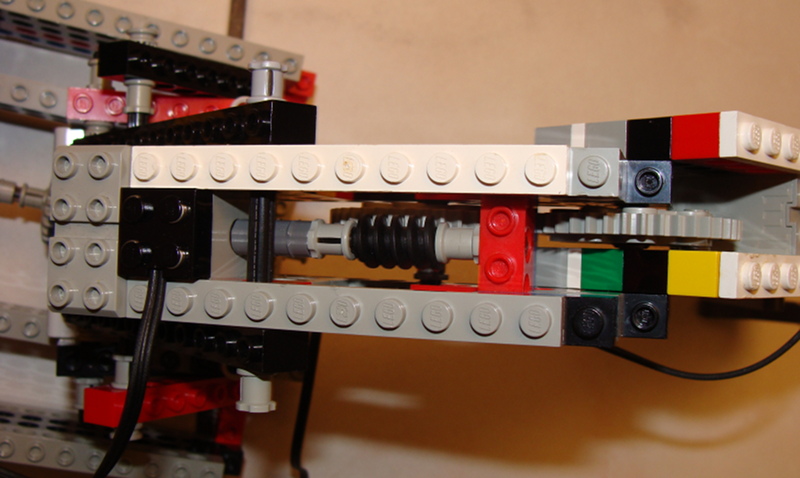
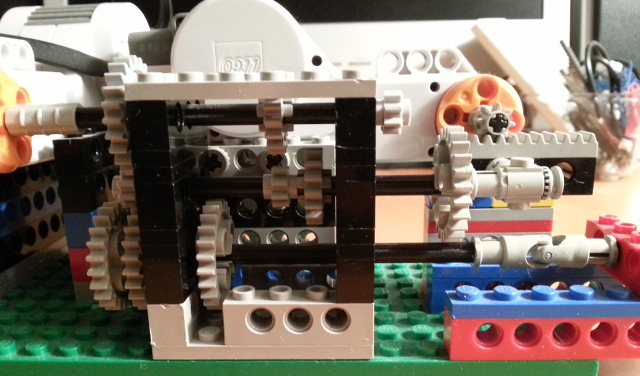
On the pliers point of view, I only had one motor left to perform both the grabbing movement and the tightening and picking-up movements once the object is tightened. To achieve this, I used a "double-function" mechanism on a same rotation movement. The secondary function, that is executed first, is the action of tightening the object. Once the pliers are jammed, it jams the secondary rotation axis and transmit the force and movement to the primary axis: the effect is hence to drive-up the pliers-block. A touch sensor is placed above this block in order to signal that the motor must be stopped once the pliers-blocks is at the ending vertival position (to prevent the motor from burning).
(Click on images to enlarge.)
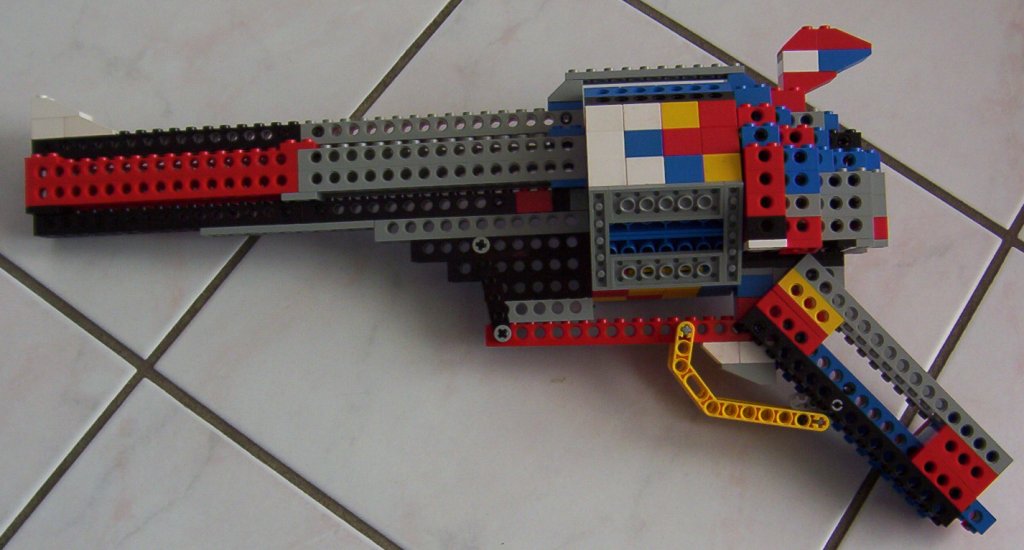
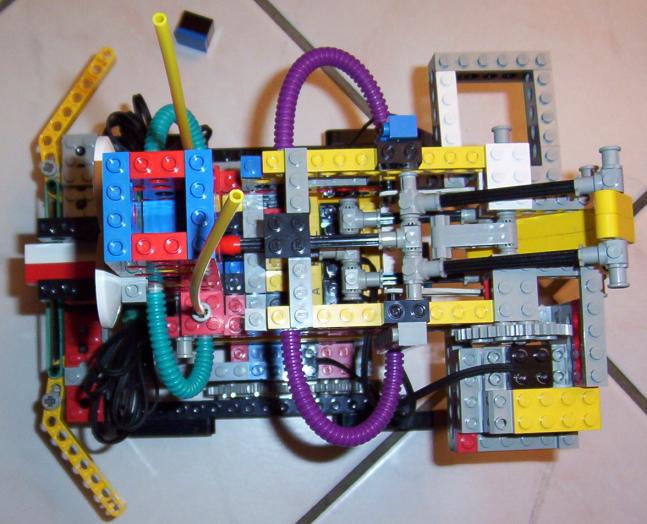
This robot aims to fire projectiles automatically. It has a reserve containing several projectiles and shoot then one after each other. Moreover, my version has motors to be able to move. The robot moves until it hits something, once bumped, it turns and goes back to cleanly face the obstacle, shoots 2 or 3 bullets, then goes back and turns again to change its direction, and finally hunts forward for a next target. However, it is possible no to make the robot moving: one only gets a fixed cannon.
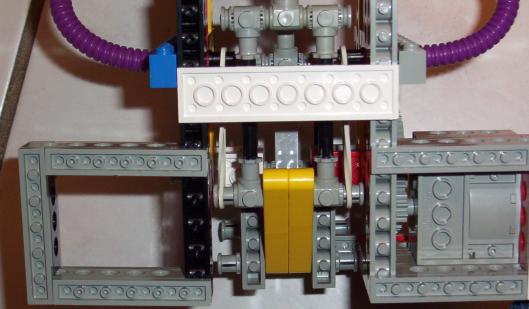
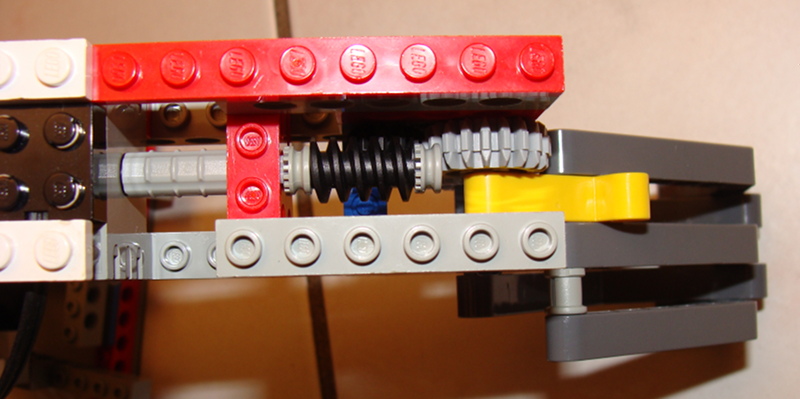
You can download building instructions in the excellent modeler MLCAD's format here (file Turret.ldr). You only need to think to add to these instructions, the point of fixing 2 little rubber-bands (in white on the picture), to create the spring mechanism. The picture below show how to place them (I didn't know how to mention them in the MLCAD model).
The interesting part of this robot is the throwing mechanism. Motorization and guiding system only are secondary aspects and you may tune them as you want. In this version, motorization is a slightly modified version of the legs provided in the Constructopedia 1.5. The guiding system is also a modified version of the "double-bumper" of the Constructopedia 1.5. I had to change it (making it wider) to get it fitting the height and width of the cannon's chassis.
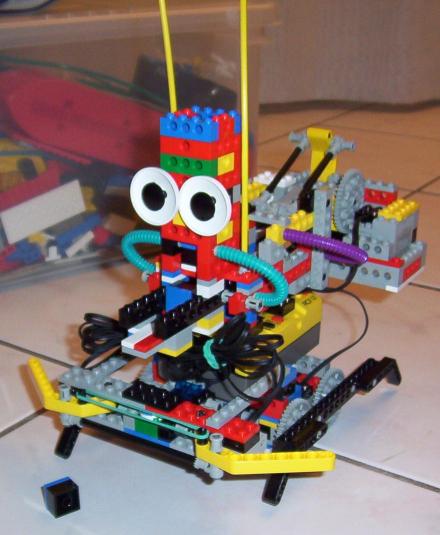
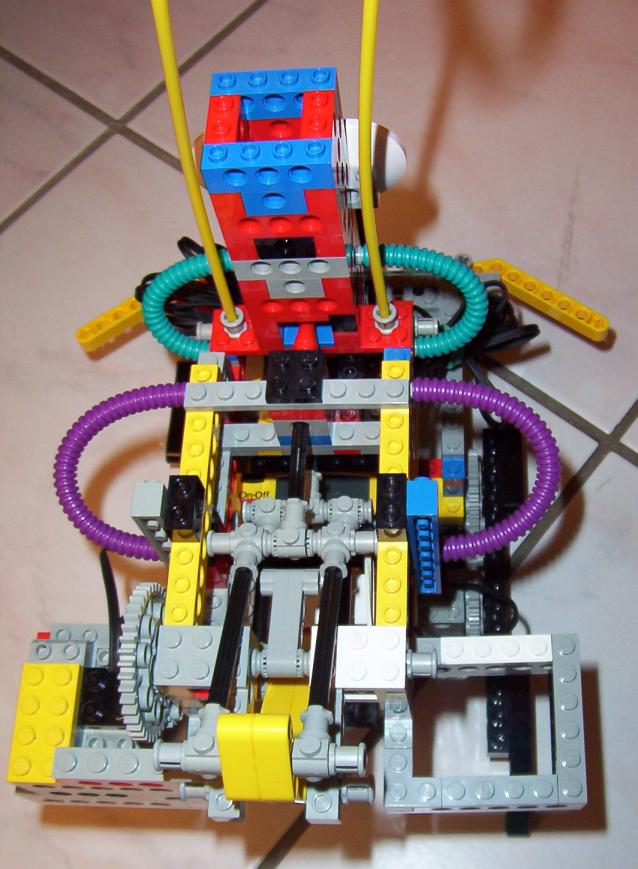
One unique motor is required for the
firing mechanism. This pretty saves parts :) The main idea is to create a
system that, in the same time, feed the cannon one projectile by one and
cock the pusher then release the pusher. This pusher caused me most of the
issues because I initially linked it directly to the motor. When on, the
motor was cocking the pusher once done, the motor was expected to be
turned off in order to let the pusher returning at it original position in
one sudden shot, hence ejecting the projectile at this moment. The
forgotten problem reasoning this way is thay a motor powered off still has
a resistance ! Hence, instead of coming back briefly, the pusher was
coming back slowly, braked by the motor 
To solve the problem, the cocking mechanism is not anymore directly linked to the motor; only a kind of little "leg" is linked to the motor and comes to pushes the 2 yellow bent bars. By turning, when this "leg" is not anymore in contact with the yellow bars, these ones, attracted by the rubber-bands come back in one sudden shot. Voili, voilà.
 Global view |
|
 Base |
 Base (front) |
 Segment 1 of arm (side) |
 Segment 1 of arm (above) |
 Segment 2 of arm (side) |
 Claw (above) |
 |
 |
 |
 |